Transferring financial data from your organization’s credit card statements to accounting software or various applications was a challenge until recent times. While the old copy-and-paste method sufficed for the already digitized documents, the real difficulty appeared when dealing with older transactions, PDFs, or scanned images of credit card statements.
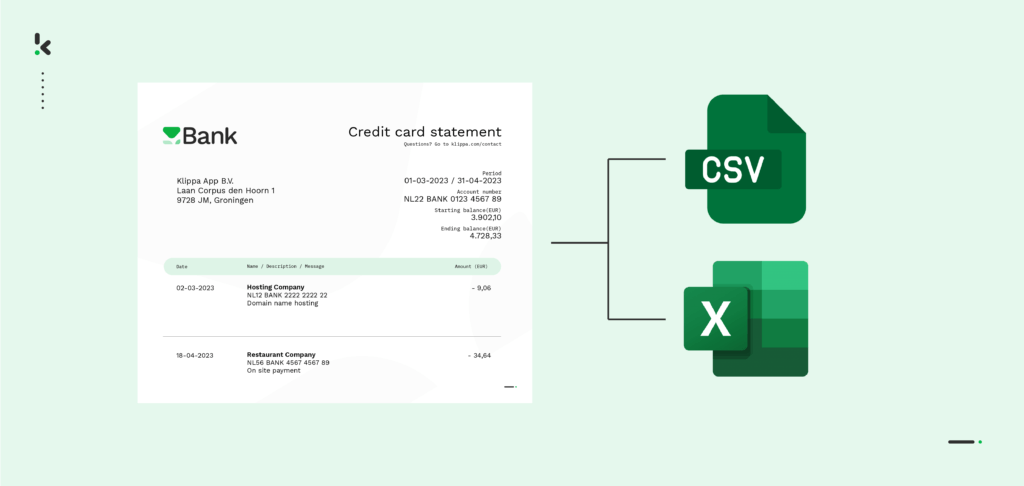
Nowadays, this dire process has become entirely automated, thanks to Intelligent Document Processing. An IDP platform leverages OCR technology to digitally transform credit card statements and extract important information. The main advantage? It not only extracts the data but also converts it into Excel or CSV formats, given the financial nature of the information.
In this blog, we will walk you through a step-by-step guide on converting credit card statements into Excel and CSV formats, empowering you to streamline business processes with Doxis’ IDP platform. Let’s get started!
Quick Guide: 3 Ways to Convert Credit Card Statements to Excel/CSV
Method 1 — Using Online PDF-to-CSV/Excel Converters
- Download PDF Statement – Save from your credit card issuer’s online portal.
- Select a Converter Tool
- Upload File – Drag and drop into the tool.
- Choose Output – CSV or Excel (XLSX).
- Process & Download – Review formatting and totals.
Method 2 — Using PDF Software with OCR
- Open the PDF – Use an OCR-enabled PDF tool.
- Run OCR Conversion – Convert the statement into Excel format.
- Open in Excel – Verify table structure and clean any extra rows.
- Save as CSV – File → Save As → CSV for import into accounting tools.
Method 3 — Automating with IDP Platforms
- Upload PDF/Scan – To an IDP tool like Doxis AI.dp.
- Create Presets – Map fields like transaction date, merchant, and amount.
- Run OCR Extraction – Process any layout or table format.
- Select Output Format – CSV, Excel, JSON, XML, etc.
- Integrate – Send directly to ERP or accounting platforms.
Tips for Success
- Double-check totals before importing.
- Use OCR for scans to avoid manual entry errors.
- Check if your bank offers direct CSV downloads.
- Automate recurring workflows with IDP integrations.
- Use GDPR/ISO-compliant tools to protect sensitive data.
What Are Credit Card Statements and Why Convert Them to Excel or CSV?
Credit card statements are detailed financial records, showing all transactions made with a company or personal credit card. This includes details like dates, amounts, vendors, and balances. These are essential documents for expense tracking, financial reporting, and audits.
Even if you have a small business, you still have a lot of credit card statements. Reviewing them manually takes time and leaves room for error. Not to mention that the statements often arrive as PDFs or scanned documents, making it hard to filter, sort, or analyze the data.
That’s where the conversion to Excel and CSV comes in. Converting statements into structured formats like Excel or CSV gives you full financial control. You can search, categorize, and analyze expenses instantly, or feed the data directly into your accounting or ERP system.
Without any doubt, converting credit card statements to Excel or CSV improves accuracy, boosts efficiency, and gives your team the insights they need. Let’s see how you can take manual work out of the picture and automate your processes.
How to Convert Credit Card Statements to Excel and CSV with Doxis
If you’re handling bank statements manually, it’s time to upgrade. Doxis AI.dp is an Intelligent Document Processing (IDP) platform that makes it easy to build a fully automated workflow that extracts key data and delivers it wherever you need it.
With our unique flow builder, you can:
- Define input and output: Select the input data and the output sources, be it email, cloud or ERP software. Sign in with your credentials and connect instantly.
- Pick your modules: Add AI.dp to your workflow and pick existing modules or select your own modules created with our prompt builder.
- Customize the flow order: With our builder, you are in charge of the sequence of the actions. Join the modules with your connectors, so you can link the items and create the workflow.
- Start your flow: And there it is! Your unique workflow is done and ready to be employed. For more insights into the process, access our documentation.
Our builder can be integrated with all your preferred applications, such as Gmail, Drive, SharePoint, Xero, and many other integrations, helping you gain real-time access to files, with our option to sync data with existing applications.
Let’s see now how to set up your automation in just five quick steps.
The best part? You can try it out for free!
Step 1: Sign up on the platform
To get the process started, sign up on our AI.dp Platform and create an account or, if you’ve already done that, simply log in. You will instantly receive a free credit of €25 to test all the platform’s capabilities!
Now, create an organization and set up a project so you can access the services. To automate credit card statement processing, enable the Flow Builder and Document Capture: Bank Statement Model services. This setup ensures that you have all the necessary tools to begin your workflow.
Step 2: Create a preset
The next step is to set up a document-capturing preset. A preset is a custom configuration where you can you can choose between capturing the whole document’s data or solely specific key-value pairs or line items. This preset will be the foundation of your workflow.
Setting up a preset is really easy. Click on the Bank Statement Model on the left side of the screen. There, you can create a new preset and assign it a name.
If you want something specific, you can further customize the preset depending on your use case by adding extra components like raw OCR data. Otherwise, the default option will work just as fine. Simply press Save, and it’s done!
Step 3: Select your input source
The first step is to determine the source for retrieving your credit card statements. Simply put, you select where you get your documents from. To exemplify this process, we’re going to use a credit card statement and show you the detailed process, using Google Drive as the input source.
Now, let’s start building the flow, a sequence of steps that defines how your bank statements are processed. To do this, return to the services interface and select the Flow Builder. From there, create a new flow from scratch and assign it a name.
Before going forward, create a folder named Input in Google Drive and upload all bank statements there.
Next, choose your input source by selecting Google Drive -> New File as your trigger. This is going to start your flow. On the right side, fill out the following sections:
- For Connection: Connect your drive by authenticating with your Google account.
- For Parent Folder: Input
- Include File Content: Check this box to ensure file content is processed.
Remember to test this and the following steps by clicking Load Sample Data. Remember to have at least one sample document in your input folder while setting up your flow!
Step 4: Capture and extract data
The next step involves choosing the action you want to perform via the platform. In this case, you’d want to read the document, classify it, and extract its content. To accurately process the credit card statement, press the + button in the Flow Builder and choose Document Capture: Bank Statement, and configure the following:
- For Connection: Default AI.dp Platform
- For Preset: The name of your preset
- For File or URL: New file -> Content
Step 5: Save your Excel or CSV file
Now let’s set up an output destination for our extracted data. For example, you can create a new file in Google Drive through the platform.
We want to show you 2 methods: how to simply convert bank statements into desired formats (such as CSV) and upload them to your desired output, and how to automatically compile data into a Microsoft Excel 365 sheet.
Convert Bank Statement to CSV format
First, let’s convert our bank statement into a CSV file. For our example, we’ll choose a Google Drive folder for our output. To convert your bank statement into CSV, follow these steps in the Platform:
Press the + button, select Create new file -> Google Drive, and set up the following configurations:
- For Connection: google-drive
- For File Name: Document Capture: Bank Statement -> components -> bank -> name (string). Next to it, type .csv (instead of “.csv”, you can choose other formats such as PDF, JSON, XML, etc.)
- For Text: Document Capture: Bank Statement -> components (to choose all the extracted elements)
- For Content Type: CSV
- For Parent Folder: Output (the name of your output file)
Convert Bank Statement to Excel
To compile extracted data directly into a Microsoft Excel 365 sheet, follow these steps in the Platform:
Press the + button and select Excel -> Append Row to Worksheet, and, on the right side, fill in the following fields:
- For Connection: Connect to your Microsoft account (Microsoft Excel 365)
- For Workbook: The name of the workbook you created for this workflow
- For Worksheet: Name of the sheet
Tip: If your worksheet contains headers, toggle the “Does the first row contain headers?” button. This option will inform the platform that row 1 is occupied.
If you’ve done this, you’ll see another section with the headers’ names in your output file. For us, they are Invoice Number, Total Amount, and Date.
Let’s try it out with the Invoice Number: in the Data Selector menu, open Document Capture: Financial Document -> components -> financial -> invoice_number. Follow the same steps for the other two header sections.
The final step is to test the entire flow by clicking the Test Flow button to confirm everything is functioning as expected.
Congratulations, you’ve successfully automated the conversion of credit card statements to Excel and CSV!
With this setup, you can publish the flow, and any new invoices added to the folder will be processed automatically. That’s how you save time and have fast and accurate results every time!
And remember: if you’re processing a high volume of documents, you don’t have to set up the flow yourself! Feel free to reach out to us because we’d love to help you out!
Automate OCR Credit Card Statements to Excel Workflow
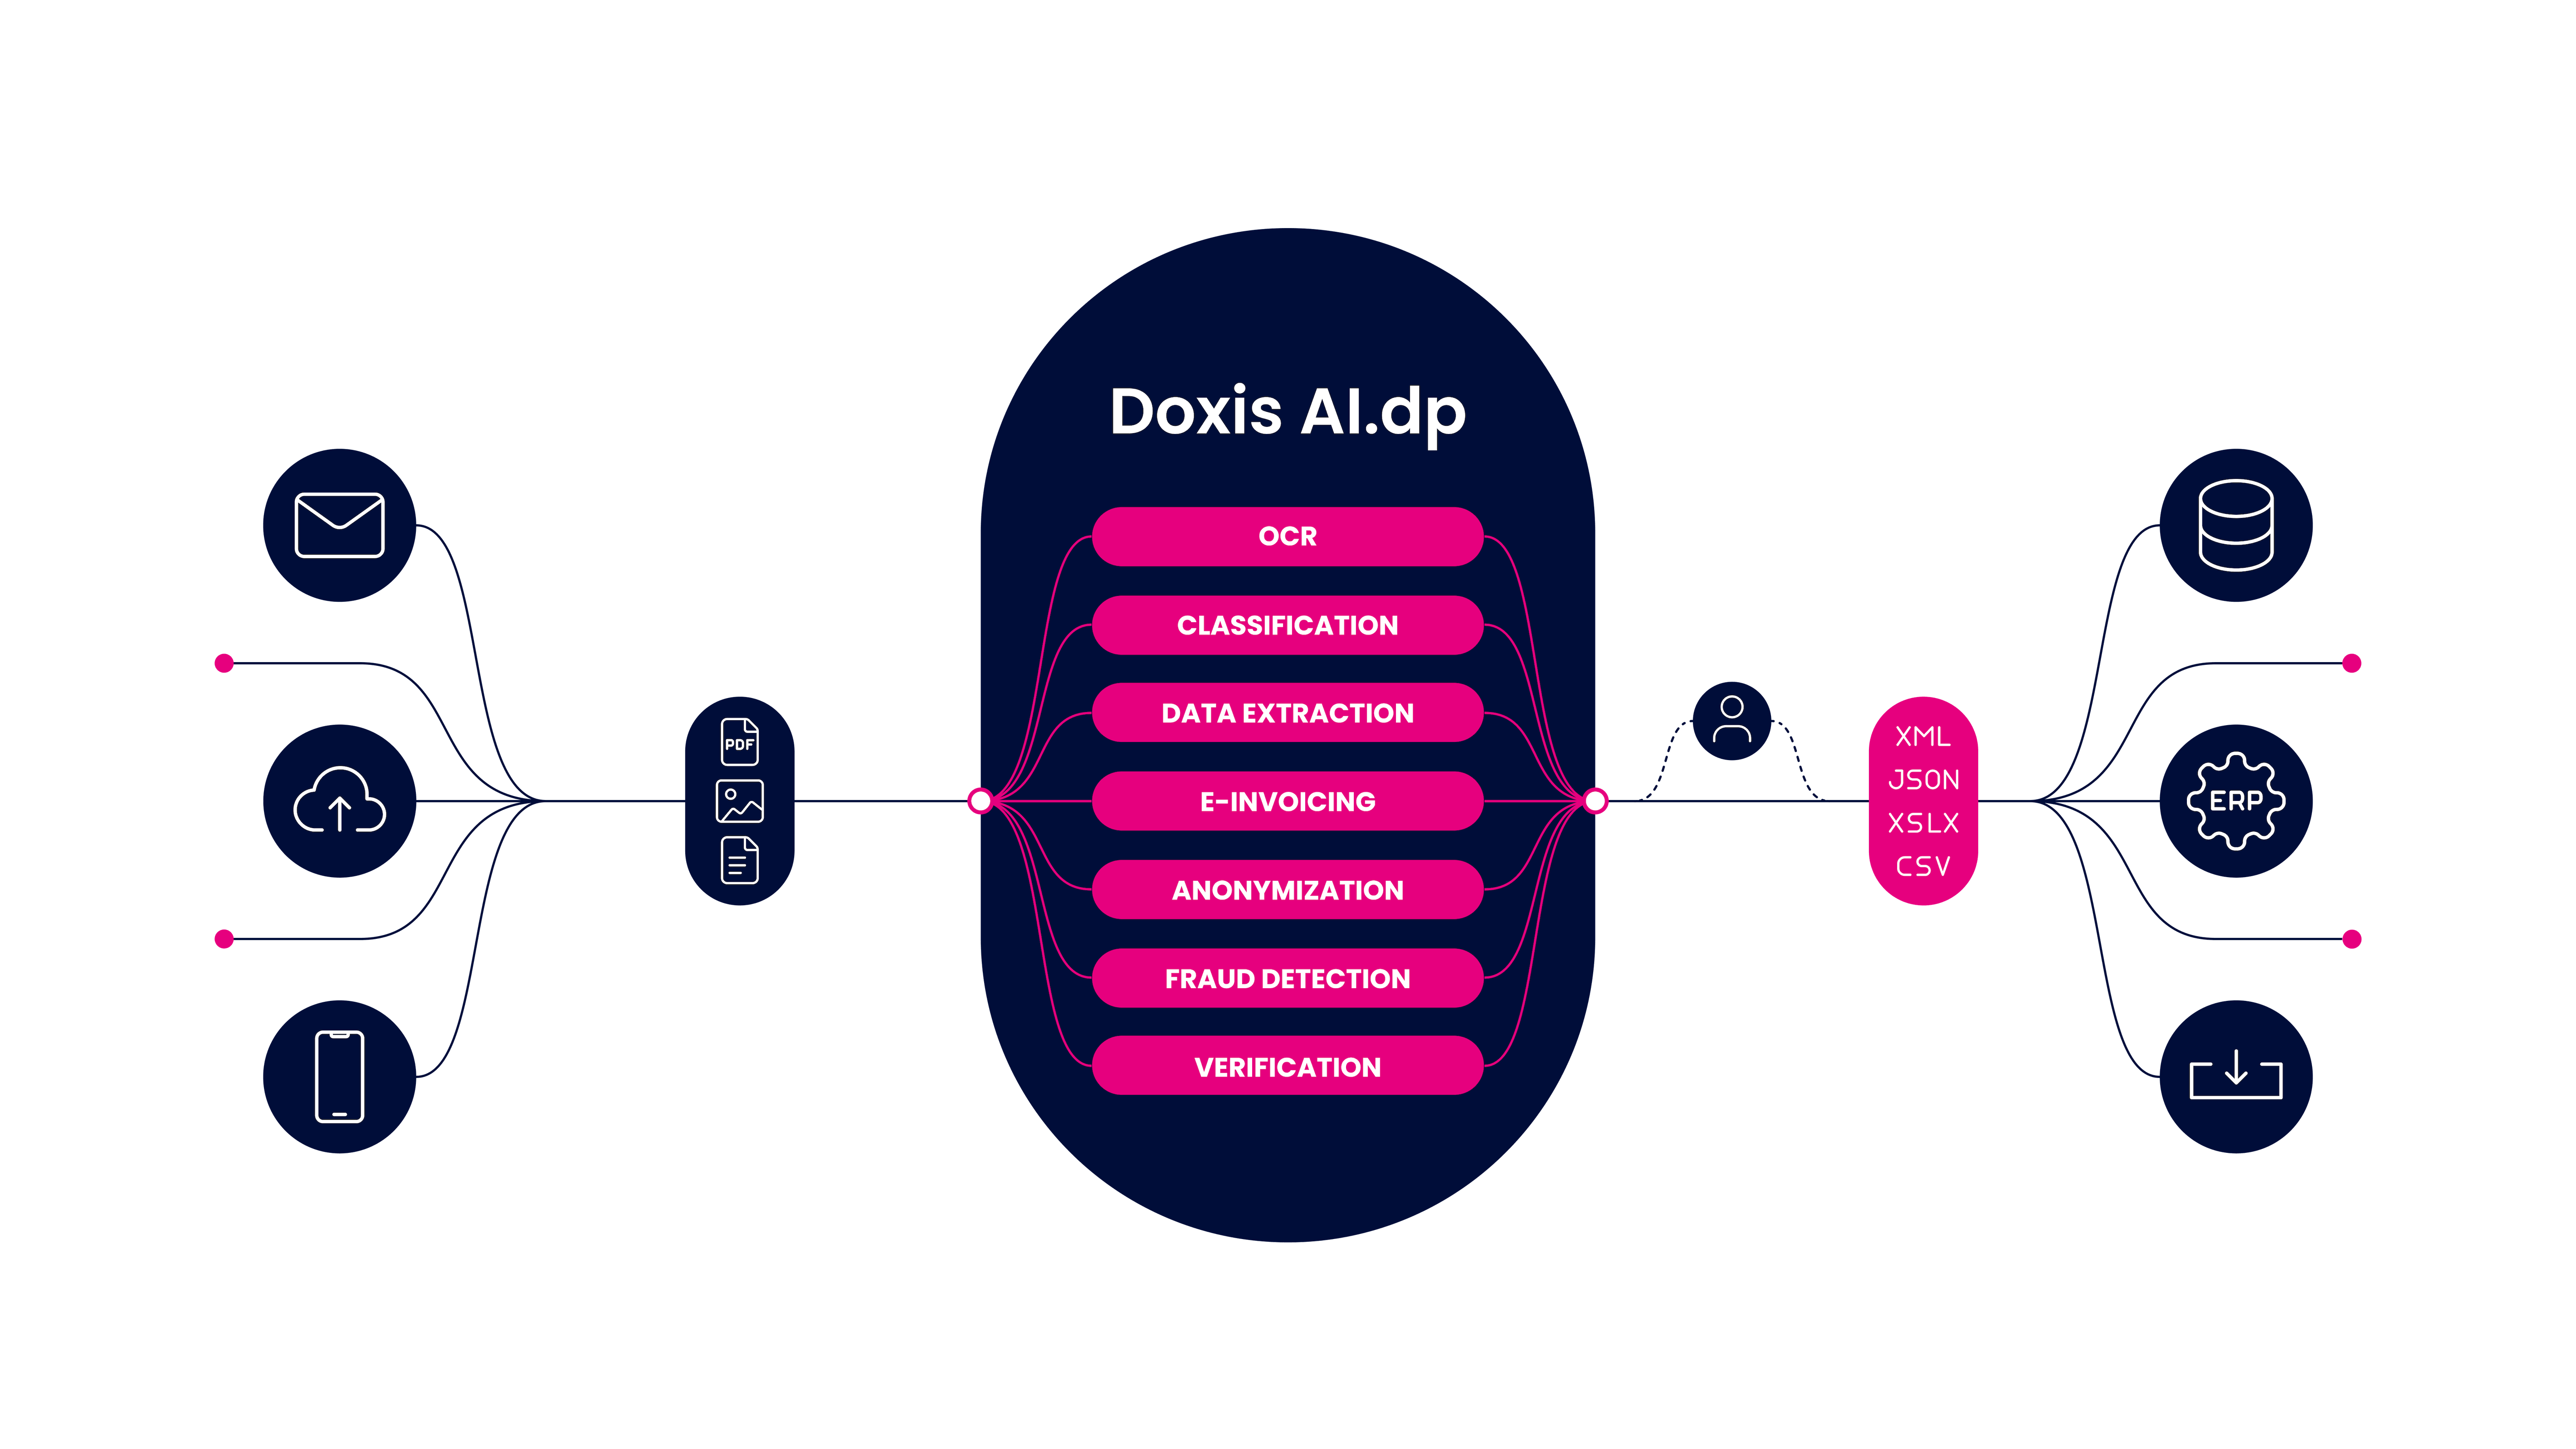
Doxis AI.dp is an Intelligent Document Processing platform that enables you to completely automate the workflow of converting credit card statements to Excel. By integrating various Doxis AI.dp modules and your preferred applications, you can create an effortless and unique workflow:
- Data extraction – Get data extracted automatically from credit card statements
- Document conversion – Convert documents into a number of business-ready data formats, such as JSON, XLSX, CSV, TXT, XML, and many more
- Data anonymization – Make sure to anonymize privacy-sensitive data, such as client names or financial information, to ensure compliance with relevant regulations
- Document verification – Automatically verify documents in numerous ways and detect document fraud
Interested in how to get started with converting credit card statements using a workflow? Book a free demo down below or contact our experts for any additional questions!
FAQ
Download the PDF from your issuer’s online portal, upload it to an OCR tool or converter like Doxis AI.dp, select CSV output, and review the exported file for accuracy.
Yes. Use OCR software to extract transaction data to .XLSX format. In Doxis AI.dp, you can append rows directly into Excel 365 for instant access and editing.
OCR technology in Doxis reads both scanned documents and digital PDFs, accurately capturing dates, merchants, and amounts from complex layouts.
They are universally compatible, allow easy sorting and analysis, and integrate with accounting software without manual re‑entry.
Yes. Doxis presets allow you to select specific fields, like transaction dates, vendor names, totals, or export all line items in full detail.
Yes. Doxis’ batch processing handles high volumes, converting each statement to your chosen format and destination automatically.
Doxis is GDPR‑compliant, ISO‑certified, and uses encryption to protect sensitive financial data during extraction and transfer.
Yes. Document verification modules can identify altered or suspicious statements, helping prevent payment and identity fraud.
Yes. You can send converted data directly to platforms like Xero, QuickBooks, Zoho, or custom ERP systems via API or direct connection.
Yes. New users receive €25 in free credits to test all features, including OCR extraction, workflow automation, and format conversion.